
I Installation
Installing React Native Firebase requires a few steps; installing the NPM module, adding the Firebase config files & rebuilding your application.
1. Install via NPM
Install the React Native Firebase "app" module to the root of your React Native project with NPM or Yarn:
# Using npm
npm install --save @react-native-firebase/app

# Using Yarn
yarn add @react-native-firebase/app
The @react-native-firebase/app module must be installed before using any other Firebase service.
2. Android Setup
To allow the Android app to securely connect to your Firebase project, a configuration file must be downloaded and added to your project.
Generating Android credentials
On the Firebase console, add a new Android application and enter your projects details. The "Android package name" must match your local projects package name which can be found inside of the manifest tag within the /android/app/src/main/AndroidManifest.xml file within your project.
The debug signing certificate is optional to use Firebase with your app, but is required for Dynamic Links, Invites and Phone Authentication. To generate a certificate run
cd android && ./gradlew signingReportand copy the SHA1 from thedebugkey. This generates two variant keys. You can copy the 'SHA1' that belongs to thedebugAndroidTestvariant key option.
Download the google-services.json file and place it inside of your project at the following location: /android/app/google-services.json.
Configure Firebase with Android credentials
To allow Firebase on Android to use the credentials, the google-services plugin must be enabled on the project. This requires modification to two files in the Android directory.
First, add the google-services plugin as a dependency inside of your /android/build.gradle file:
buildscript {
  dependencies {
    // ... other dependencies
    classpath 'com.google.gms:google-services:4.2.0'
    // Add me --- /\
  }
}
Lastly, execute the plugin by adding the following to your /android/app/build.gradle file:
apply plugin: 'com.android.application'
apply plugin: 'com.google.gms.google-services' // <- Add this line
3. iOS Setup
To allow the iOS app to securely connect to your Firebase project, a configuration file must be downloaded and added to your project.
Generating iOS credentials
On the Firebase console, add a new iOS application and enter your projects details. The "iOS bundle ID" must match your local project bundle ID. The bundle ID can be found within the "General" tab when opening the project with Xcode.
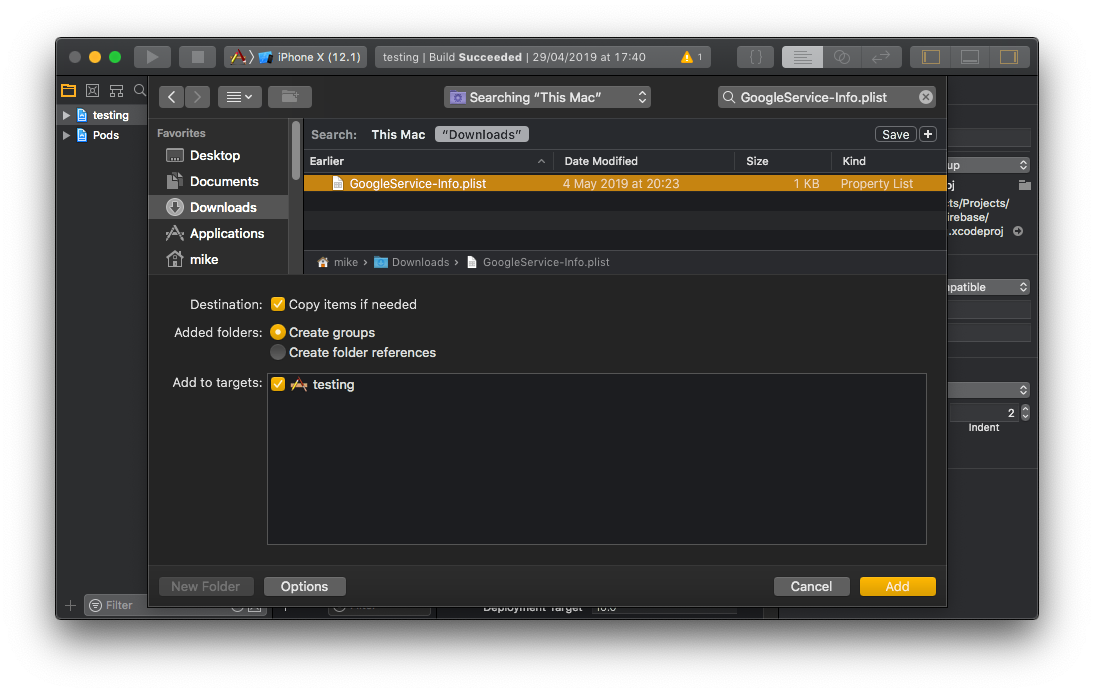
Download the GoogleService-Info.plist file.
Using Xcode, open the projects /ios/{projectName}.xcodeproj file (or /ios/{projectName}.xcworkspace if using Pods).
Right click on the project name and "Add files" to the project, as demonstrated below:
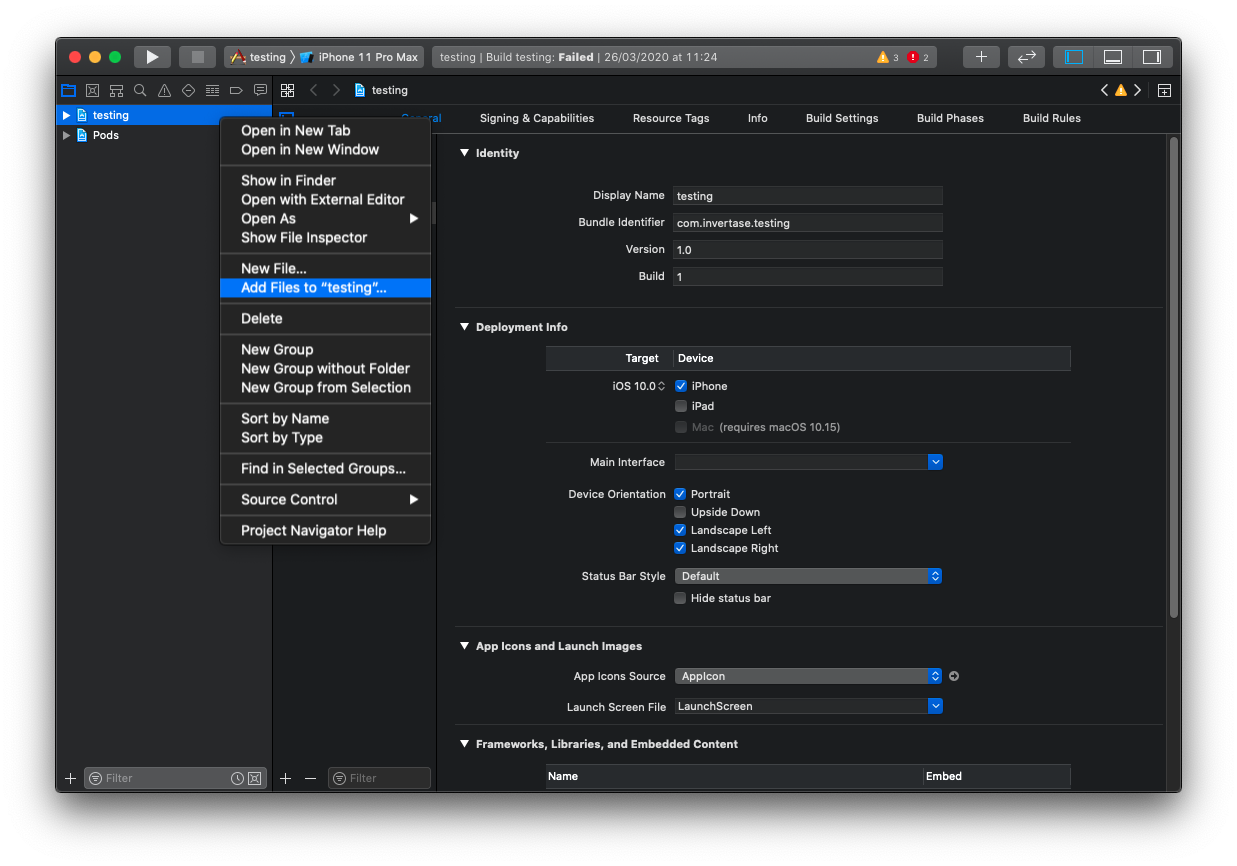
Select the downloaded GoogleService-Info.plist file from your computer, and ensure the "Copy items if needed" checkbox is enabled.
Configure Firebase with iOS credentials
To allow Firebase on iOS to use the credentials, the Firebase iOS SDK must be configured during the bootstrap phase of your application.
To do this, open your /ios/{projectName}/AppDelegate.m file, and add the following:
At the top of the file, import the Firebase SDK:
#import <Firebase.h>
Within your existing didFinishLaunchingWithOptions method, add the following to the top of the method:
- (BOOL)application:(UIApplication *)application didFinishLaunchingWithOptions:(NSDictionary *)launchOptions {
  // Add me --- \/
  if ([FIRApp defaultApp] == nil) {
    [FIRApp configure];
  }
  // Add me --- /\
  // ...
}
4. Autolinking & rebuilding
Once the above steps have been completed, the React Native Firebase library must be linked to your project and your application needs to be rebuilt.
Users on React Native 0.60+ automatically have access to "autolinking", requiring no further manual installation steps. To automatically link the package, rebuild your project:
# Android apps
npx react-native run-android

# iOS apps
cd ios/
pod install --repo-update
cd ..
npx react-native run-ios
Once successfully linked and rebuilt, your application will be connected to Firebase using the @react-native-firebase/app module. This module does not provide much functionality, therefore to use other Firebase services; each of the modules for the individual Firebase services need installing separately.
Note: Whn Build successfully it connect with firebase IN next Blog we Implement Push-Notification in React-native by firebase
Comments
Post a Comment